OpenPLC on Neuron
To avoid compatibility problems, it is better to download the most recent UniPian Neuron OS from the UniPi website and make a fresh install. Also, keep in mind that when OpenPLC is installed on UniPian, it completely disables EVOK and all related services.
The best way to get OpenPLC files into your UniPi Neuron is by using git. Usually, git comes preinstalled on UniPian. If for some reason you don’t have git installed on your system, you can install it by typing:
sudo apt-get update
sudo apt-get install git
To install OpenPLC type these lines on the terminal:
git clone https://github.com/thiagoralves/OpenPLC_v3.git
cd OpenPLC_v3
./install.sh neuron
The installation process will take a while (up to 1 hour depending on your system). Meanwhile, grab a [insert your favorite beverage here] and relax! Once OpenPLC is installed, just reboot your device and it will start automatically after boot.
|
Tip
|
To use in-development capabilities, checkout the
|
The OpenPLC runtime has a built-in webserver that allows you to configure OpenPLC and also to upload new programs for it to run. This webserver can be accessed by opening a web browser on your computer and typing the IP address of your OpenPLC device at port 8080. For example, if your PiXtend has the IP 192.168.0.103 on your network, you should type this on your browser:

If you don’t know the IP address of your board, the Raspberry Pi foundation has a nice guide to help you out.
Once you access OpenPLC webserver, you should see in your browser window a login page like this:

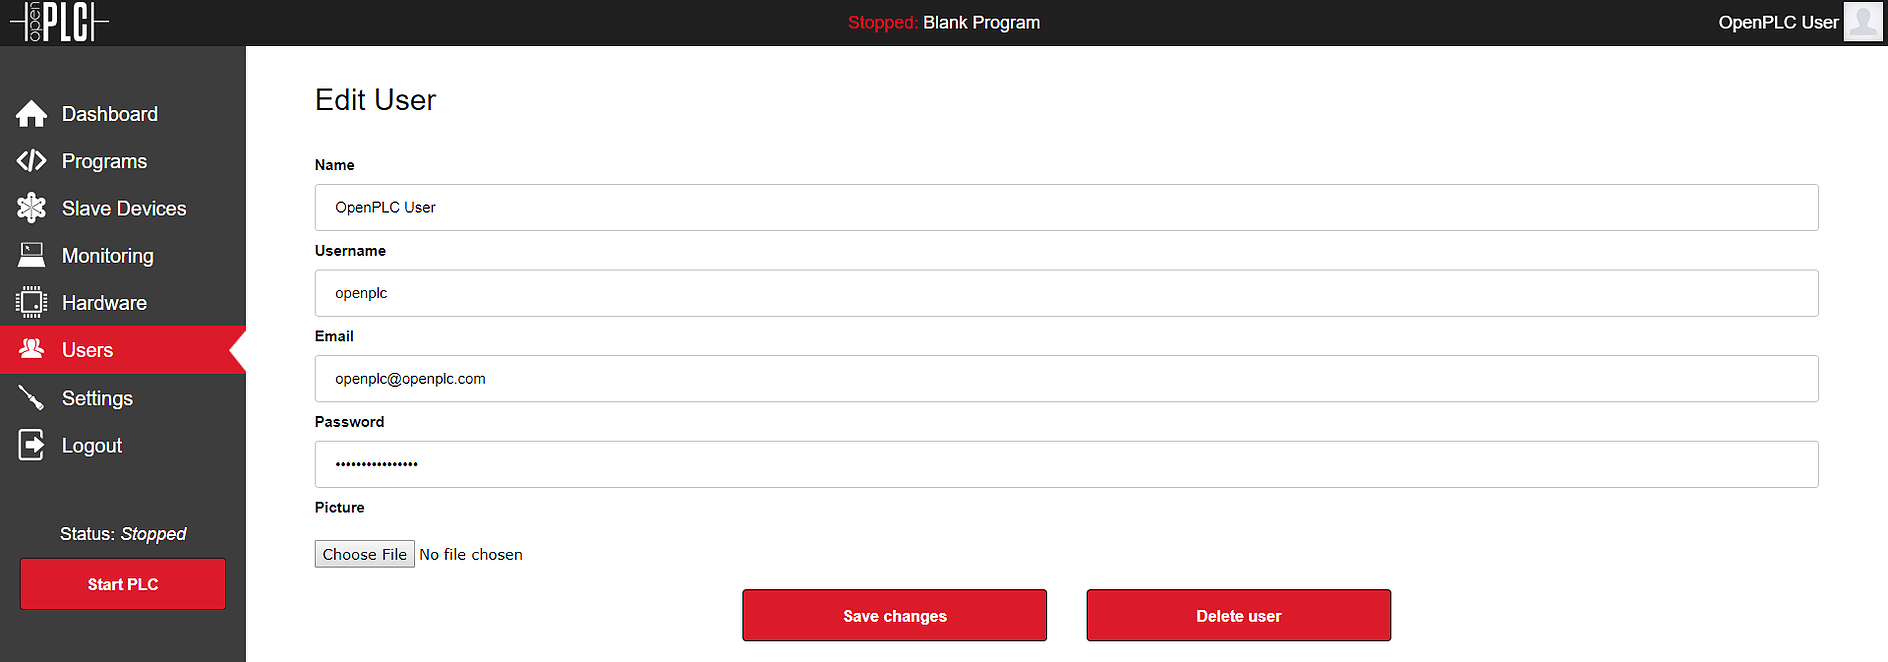
The default username and password is openplc (login) and openplc (password). This means that the first thing you must do after logging in for the first time is change the default username and password! It is very easy to do that. Just go to the Users menu, click on the OpenPLC User and change the information as you like.

Once you save the changes you will be prompted to login again. Just login with your new credentials and you will be good to go!
Pin Mapping
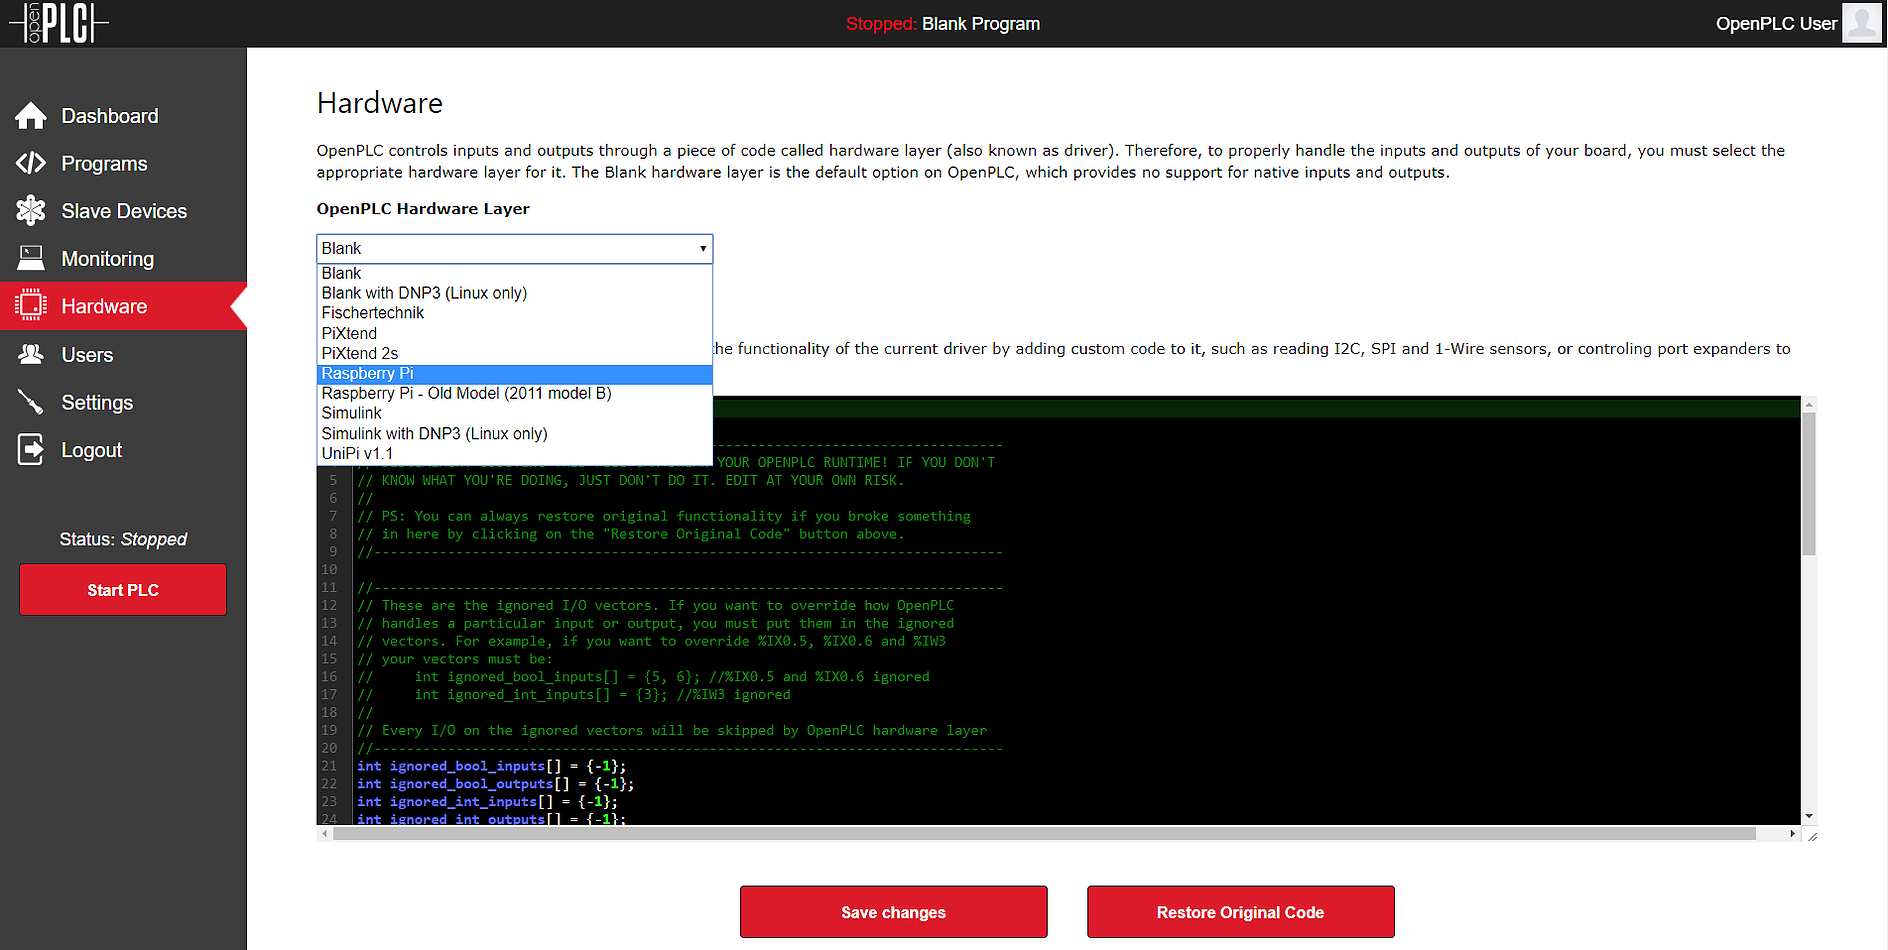
By default OpenPLC runtime is installed with a blank driver. This means that it won’t be able to control your UniPi Neuron inputs and outputs straight away. To enable the UniPi Neuron driver, go to the “Hardware” section and, from the popup menu, select “Neuron”. Click on “Save changes” and wait for a little bit while the driver is applied. Please make sure you have selected the “Neuron” driver, and not “UniPi v1.1”. The UniPi v1.1 driver is for the old UniPi Industrial Board and won’t work with the Neuron.

Given that there are many different types of Neuron PLCs, the OpenPLC Neuron driver scans the hardware looking for I/Os when it is started. Once the scan is completed, the driver displays a log on the Dashboard showing all I/Os found and the respective mapping to OpenPLC located variables:

My First Project
The Reference menu on this website has a nice tutorial that
teaches you how to create your first project.
However, if you’re in a hurry, you can download the official Hello World
project, which is basically one rung, a button, a timer and a coil, all
connected together. The button is attached to %IX0.0 and the coil is attached
to %QX0.0. When the button is pressed and released, the coil is energized and
remains on for 2 seconds, and then turns off.

Download the project below and open it on OpenPLC Editor. Click on Generate program for OpenPLC Runtime in order to compile the diagram into a ST file. Then upload the ST file to the OpenPLC using the web interface.
